Write us
info@agrigyan.com
+91 9999052385
Request a call back

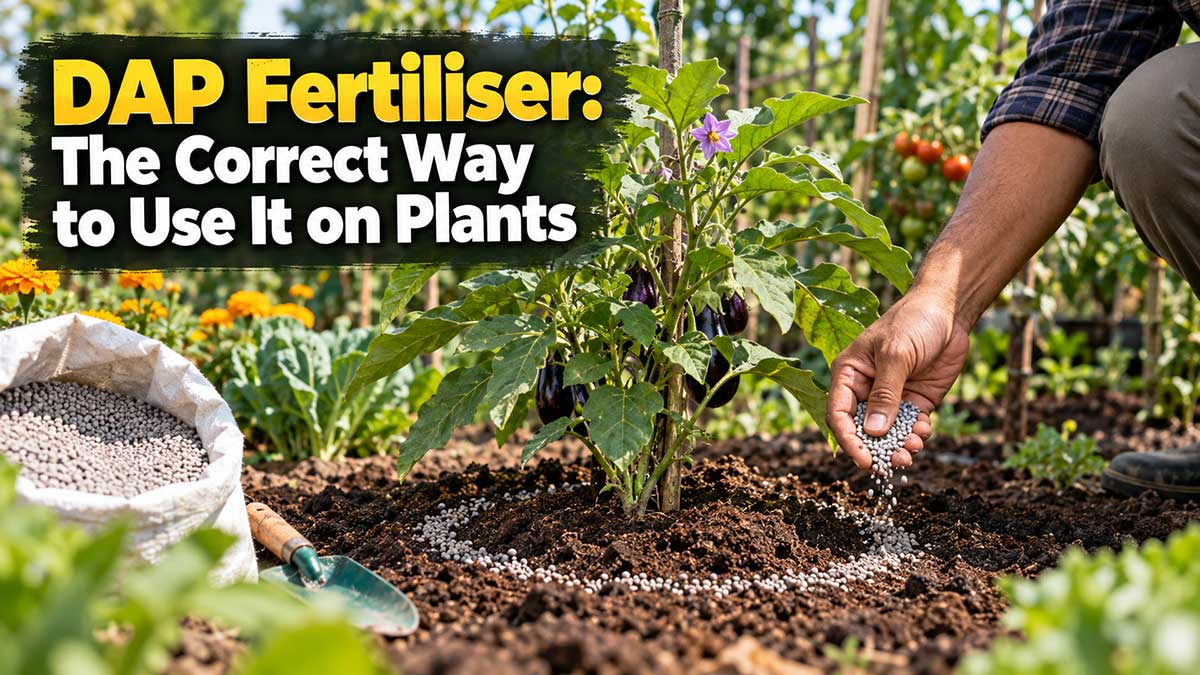
DAP Fertiliser: The Correct Way to Use It on Plants
DAP (Di-Ammonium Phosphate): What It Is and How to Use It
DAP, short for di-ammonium phosphate, is one of the most widely used fertilisers in Indian farming and gardening, valued for its high phosphorus content that supports strong root development and better flowering. Like urea, it's a concentrated chemical fertiliser, which means it delivers fast results but also carries real risk if used carelessly. This guide covers exactly what DAP does, when to use it, and how to apply it correctly for healthy, well-developed plants.
What DAP Actually Contains
DAP typically carries an NPK ratio of around 18:46:0, meaning it supplies 18% nitrogen and a substantial 46% phosphorus, with no potassium at all. This makes it particularly effective at the specific job phosphorus does best: building strong root systems and supporting flower and fruit development, while the accompanying nitrogen gives a modest boost to general growth alongside it.
When to Use DAP
DAP is most effective when applied at two key stages of a plant's life. At planting or transplanting time, mixing a small amount into the soil gives young roots a strong phosphorus supply right from the start, which is particularly valuable since phosphorus doesn't move through soil as easily as nitrogen and benefits from being placed close to where roots will develop.
Just before flowering, a light application supports stronger bud formation and more reliable flowering or fruiting. DAP is less useful during a plant's peak leafy growth phase, where a nitrogen-focused feed will do more, and it's generally unnecessary for plants that aren't expected to flower or fruit, like most foliage houseplants.
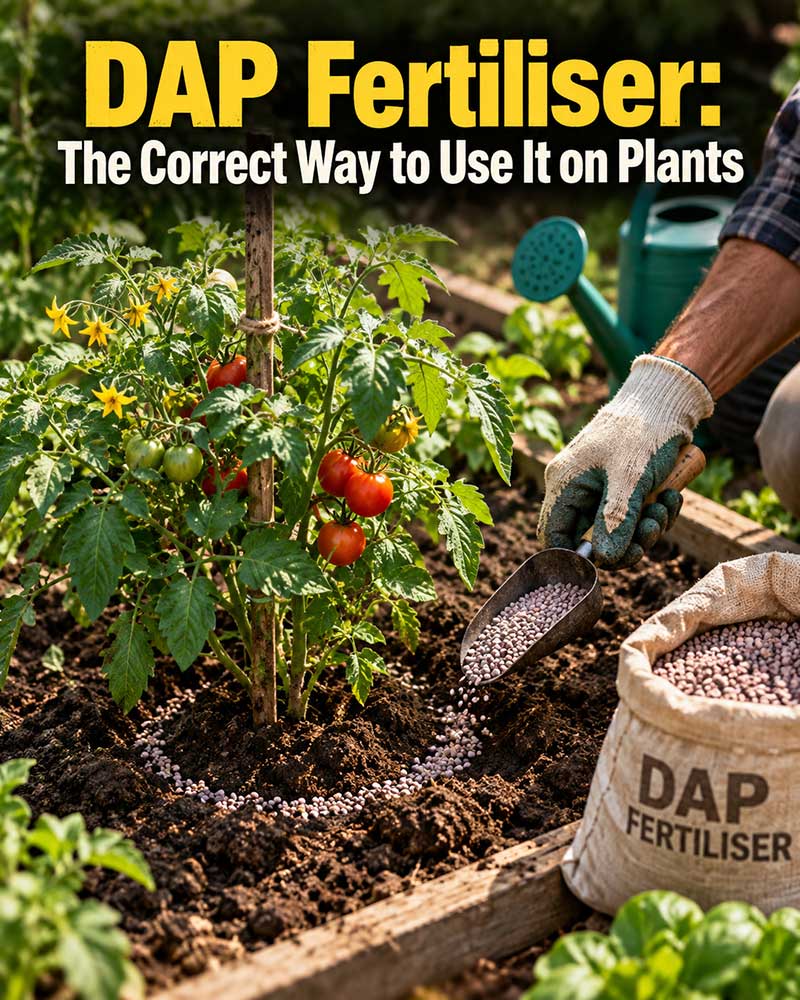
Correct Dosage and Application
For potted plants, dissolve about half a gram to 1 gram of DAP per litre of water and apply as a soil drench once every 4 to 6 weeks during the growing and flowering season, always watering the soil lightly beforehand to avoid a concentrated dose hitting dry roots directly.
For garden beds, a light application of roughly 10 to 15 grams per square metre worked into the soil at planting time, followed by a similar top-up before flowering, is a reasonable general guide for vegetables and flowering plants.
Precautions When Using DAP
- Never apply dry granules directly against a plant's stem or roots; always dissolve in water or work them into the soil a few inches away from the base.
- Water thoroughly after application to help the fertiliser move into the root zone rather than sitting concentrated near the surface.
- Avoid applying DAP too frequently; once every 4 to 6 weeks during active growth is generally sufficient, since phosphorus builds up in soil more than nitrogen does.
- Store DAP in a dry, sealed container, since it can absorb moisture from the air and clump if left exposed.
- Wear gloves when handling concentrated granules, as with most chemical fertilisers.
DAP in Organic vs Conventional Gardening
DAP is a chemical (synthetic) fertiliser, which means it doesn't fit within a strictly organic gardening approach. Gardeners who prefer to avoid chemical inputs entirely can substitute rock phosphate or bone meal for a slower-release, organic source of phosphorus, though both work more gradually than DAP and are better suited to being mixed in well ahead of planting rather than as a quick pre-flowering boost.
For gardeners open to a mixed approach, DAP remains one of the fastest, most reliable ways to correct a clear phosphorus shortage.
How to Tell If Your Plant Needs DAP
Before reaching for DAP, look for the specific signs of phosphorus shortage: stunted growth despite otherwise adequate care, a dull or slightly purplish tinge to leaves (especially on the undersides or leaf stalks), and poor flowering or fruiting in a plant that's otherwise leafy and healthy-looking.
If a plant looks lush and green but simply won't flower, phosphorus deficiency is a reasonable first thing to rule out, and a light DAP application is a fast way to test whether that's the underlying issue.
DAP vs Urea vs Balanced NPK
DAP is best understood as a targeted phosphorus source, useful specifically for root development and flowering, whereas urea is a targeted nitrogen source for leafy growth, and a balanced blend like 19:19:19 offers a bit of everything for general-purpose feeding.
Many gardeners use DAP at planting and pre-flowering stages specifically, switching to urea or a balanced feed during the plant's main leafy growth phase in between.
Signs of Too Much DAP
Overuse of DAP can lead to phosphorus buildup in the soil, which paradoxically can block a plant's ability to absorb other important nutrients like iron and zinc, sometimes showing up as yellowing between leaf veins despite adequate nitrogen levels.
Excess can also cause root burn similar to other concentrated chemical fertilisers, particularly if applied dry and close to the stem. If you notice these signs, stop applying DAP for a couple of months and water the soil thoroughly a few times to help balance out the excess.